Card information is entered on AnyCard's Main Screen (shown below). The Card Number, Expiration Date, Amount and Card Holder's Name are the minimum requirements, but your gateway may have other requirements including an address and a CVV code or Security Code (the code from the back of the credit card.) There's also a place to write notes to yourself about the transaction.
You'll notice on the screen that you can "validate" the card before calling the processing center. AnyCard's internal validation process checks to see whether the card number is valid and accurate before processing the card. This is a handy feature since you'll know right away if you've accidentally typed in the number incorrectly--or someone has given you an improper or fraudulent number.
You'll find other time saving features on the Main Screen. If you need to contact the customer about something, you can click on the "Dial" button (blue button to right of the Phone blank) and the customer's phone number will be dial for you. Or you can click on the email button which will automatically start your email program. |
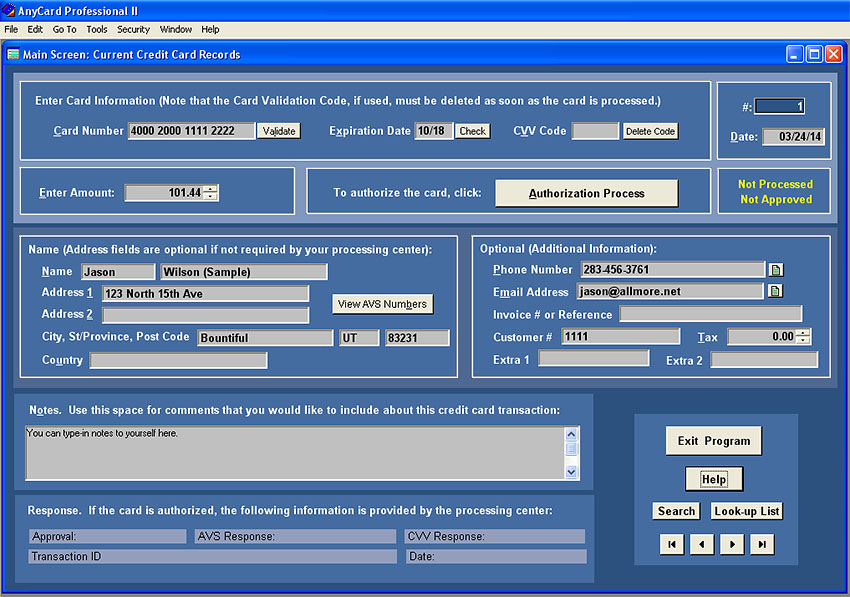
Once the card information is entered, you're ready to authorize it. That's done by clicking the "Authorization" button, and the following dialog box appears:
|
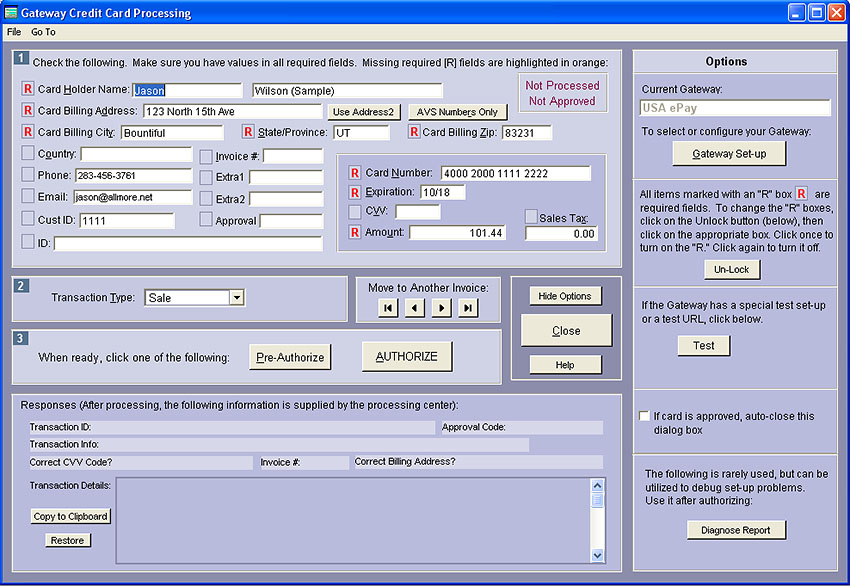
When the "Authorization Process" dialog box appears (shown above), it's just a matter of clicking on the "Authorize" button. AnyCard uses your Internet connection and sends the card information to the Gateway's computer. The card data is sent in an approved encrypted form. Within one or two seconds, the Gateway's computer responds: either the card is approved or declined. If it's approved, the Gateway will provide an approval number, transaction ID and other information which will be automatically recorded in AnyCard.
You'll see several of the fields have "R's" beside them. The "R" means that this field is required by your Gateway. It allows you to quickly identify any missing data before authorizing the card. At the top, right of the dialog box, you'll see "Not Processed" and "Not Approved." These will change into "Processed" and "Approved" after a card has been successfully authorized.
You can continue to process more cards by clicking on the "Next Card" button. When you are finished processing cards, you are returned to the Main Screen. |
AnyCard Touch Tone Processing Screen Displays
AnyCard Storage Files - Screen Displays
Return to AnyCard Main Page
|
AnyCard is another carefully crafted software program from:
 Great Rift Software

Innovation, Excellence and Service